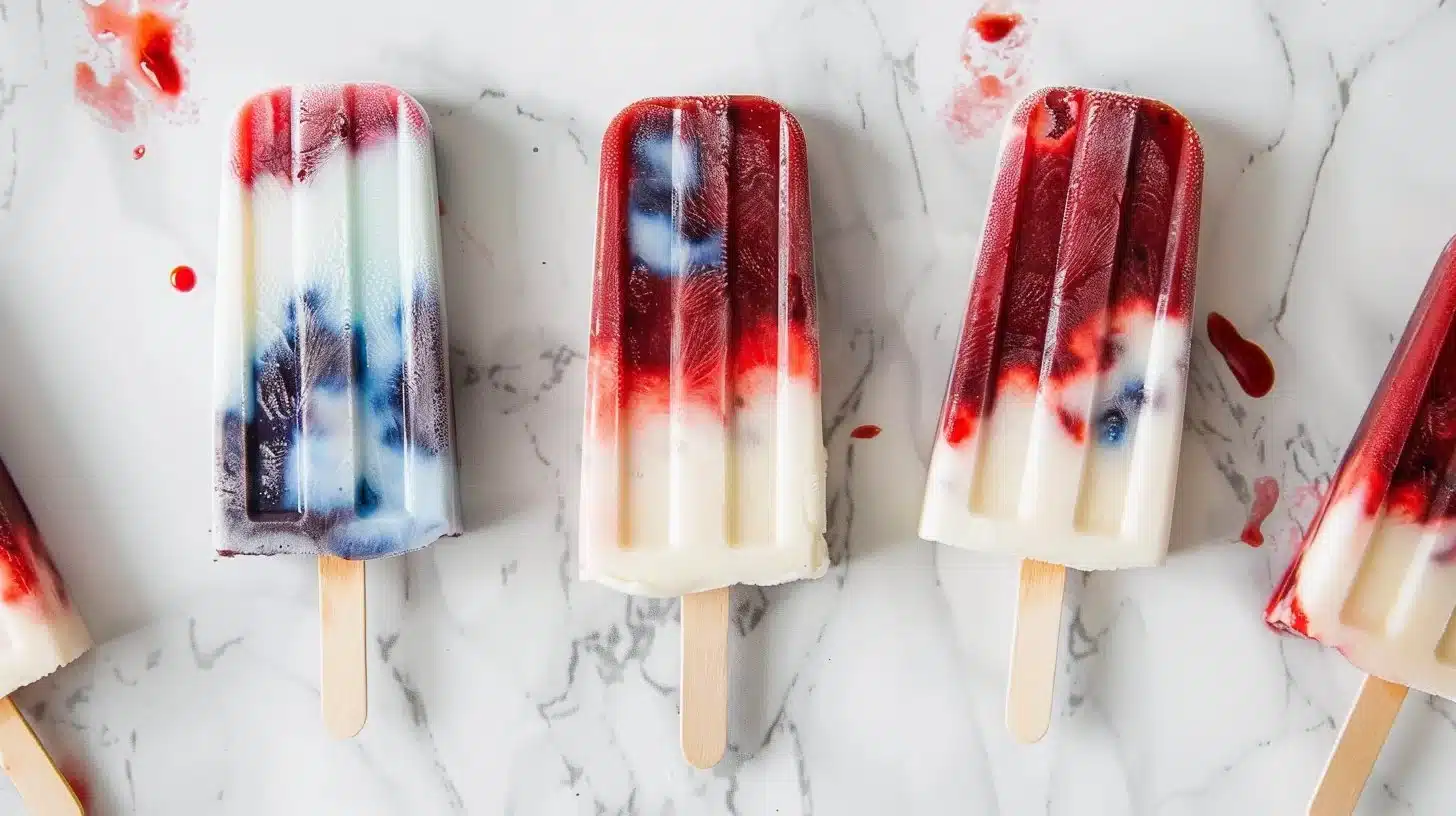
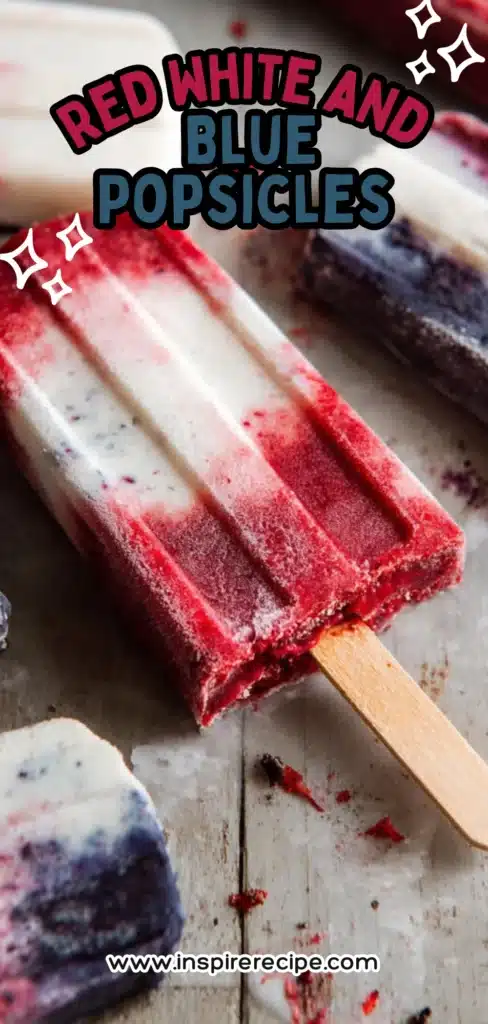
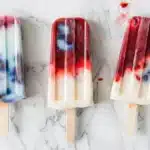
Summer is a perfect time for cool, refreshing treats, and what better way to enjoy the season than with colorful and vibrant red, white, and blue popsicles? These treats are not just visually stunning; they are also a delicious way to indulge in fresh fruits and healthy ingredients. Perfect for celebrations like the Fourth of July or Bastille Day, these popsicles are a healthy alternative to store-bought frozen desserts loaded with sugar.
Why Make This Recipe
Making red, white, and blue popsicles at home is rewarding for several reasons. First, you have complete control over the ingredients, allowing you to create a healthier snack without artificial flavors or preservatives. This recipe is packed with nutritious components: vanilla yogurt provides calcium and protein; strawberries offer vitamins C and A, along with antioxidants; while blueberries are low in calories yet high in nutrients, boasting various health benefits.
Moreover, these popsicles are visually appealing and can be a fun activity for families, encouraging kids to participate in the kitchen. It’s an excellent opportunity to teach children about healthy eating and the importance of whole foods. Finally, creating these popsicles can add a festive touch to outdoor gatherings and celebrations, serving as a delightful conversation starter.
How to Prepare Red White and Blue Popsicles
Preparing red, white, and blue popsicles is a straightforward process. Let’s break it down into detailed steps to ensure a successful outcome.
Ingredients:
- 1 cup vanilla yogurt: Choose a low-fat option if you prefer a lighter treat or Greek yogurt for extra creaminess and protein.
- 1 cup hulled strawberries: Fresh strawberries work best, but frozen can be used if fresh is unavailable.
- 2 teaspoons lemon juice (divided): This will enhance the flavors and add a slight tartness.
- 1 cup blueberries: Fresh blueberries are best, but frozen can also be used.
Instructions:
- Prepare the Vanilla Yogurt:
Set aside 1 cup of vanilla yogurt in a bowl. The yogurt serves as the creamy middle layer of your popsicle. If you’re looking for a dairy-free option, consider using coconut yogurt, which adds a delicious flavor. - Blend the Strawberries:
Place hulled strawberries in your blender. Blend until they reach a smooth consistency. If you prefer a chunky texture, pulse the strawberries instead for a few seconds. - Add Lemon Juice to Strawberries:
Once the strawberries are blended, add 1 teaspoon of lemon juice. This enhances the flavor profile and balances the sweetness. Mix well and transfer the strawberry puree to another bowl, setting it aside. - Rinse the Blender:
It’s essential to rinse the blender after blending the strawberries to avoid mixing flavors, ensuring each layer of your popsicle remains distinct. - Blend the Blueberries:
Now, add the blueberries to the clean blender. Blend them until smooth. Similar to strawberries, if you want a bit of texture, blend just until you achieve your desired consistency. - Add Lemon Juice to Blueberries:
After blending, add the remaining 1 teaspoon of lemon juice to the blueberry puree. Mix thoroughly and pour this layer into a separate bowl. - Layer the Popsicles:
Take your popsicle molds and start layering. Begin by pouring in a layer of blueberry puree, followed by a layer of yogurt, and finally a layer of strawberry puree. Repeat until the molds are filled, leaving a little space at the top. - Insert Popsicle Sticks:
Place popsicle sticks in the center of each mold. If you want to create a swirled effect, gently swirl a knife through the layers to combine but be careful not to overdo it! - Freeze the Popsicles:
Place the filled molds in the freezer and freeze for at least 5 hours, or until completely solid. For best results, freezing overnight is recommended. - Release and Serve:
When you’re ready to enjoy, run the molds under warm water for a few seconds to help release the popsicles. Gently pull the popsicles out and serve immediately.
Extra Tips:
- To enhance the flavor, consider adding a hint of honey or agave syrup to the fruit purees if you prefer them sweeter.
- Make sure the yogurt is at room temperature to help it layer more smoothly.
- Experiment with additional fruits like raspberries or mangoes for variations.
How to Serve Red White and Blue Popsicles
Serving red, white, and blue popsicles can be as versatile as your creativity allows. Consider these ideas:
- Perfect for Celebrations: Use them for any patriotic holiday, such as Independence Day or Bastille Day, to impress guests during parties or picnics.
- Accompaniment to Desserts: Pair them with a light sponge cake or fruity salads for a festive dessert buffet.
- In Fun Drinks: Place a popsicle in a glass of sparkling water or lemonade for a refreshing, flavorful drink that will keep you cool.
- At Playdates: Use them as a fun refreshment for kids at playdates, making healthy eating exciting.
How to Store Red White and Blue Popsicles
Storing your homemade popsicles is simple, which helps minimize waste:
- In Popsicle Molds: Store in the molds for up to a month. Make sure to keep them sealed or cover them with plastic wrap to avoid freezer burn.
- In Freezer Bags: Once fully frozen, you can remove them from the molds and place them in resealable freezer bags. Label the bags with the date. Properly stored, they can last for up to two months.
- Anti-Waste Tips: If you have leftover fruit purees, consider freezing them in ice cube trays for smoothies or flavoring waters later.
Tips for Mastering Red White and Blue Popsicles
- Avoid Over-blending Fruits: Blend just until smooth to maintain some texture and flavor integrity.
- Layer Effectively: Pour carefully for distinct layers. A funnel can help if you’re using squeeze bottles to control pouring better.
- Use Quality Ingredients: Fresh and organic fruits will always yield better results compared to processed alternatives.
- Don’t Rush the Freezing: Ensure popsicles are completely frozen before removing them to avoid melting or breaking.
- Test with Freeze Time: Every freezer has different temperatures. Experiment to find the optimal freezing duration for your setup.
Variations
This recipe is incredibly versatile, allowing for various substitutions:
- Fruits: Use raspberries instead of strawberries for a slightly different taste, or try mangoes for a tropical twist.
- Dairy Alternatives: Substitute vanilla yogurt with almond or soy yogurt for dairy-free options.
- Sweetness Adjustments: Swap honey for maple syrup for a vegan-friendly sweetener, or mix in agave for a lighter option.
- Seasonal Adaptations: Use seasonal fruits to create variations throughout the year.
- Herbal Touch: Infuse some mint or basil leaves into the blueberry layer for a refreshing herbal flavor.
FAQ
- Can I use frozen fruits instead of fresh?
Yes, frozen fruits work well. Just allow them to thaw slightly before blending to achieve a smoother consistency. - How can I make these popsicles vegan?
Use plant-based yogurt and ensure that any sweeteners you add are vegan-friendly. - Can I add additional flavoring to the yogurt layer?
Absolutely! You can mix in a teaspoon of vanilla extract, a little honey, or even spices like cinnamon or nutmeg for extra flavor. - Why is my yogurt layer separating from the fruit layers?
This can happen if the layers are too warm when poured. Ensure that your ingredient mixtures are cool before layering. - What if I don’t have popsicle molds?
You can use small paper cups or ice cube trays. Just insert sticks once the mixtures begin to freeze slightly.
By mastering the art of making red, white, and blue popsicles, you not only indulge in a delicious treat but also spark joy and creativity in the kitchen. Enjoy these healthy delights all summer long!
Red White and Blue Popsicles
Ingredients
Popsicle Layers
- 1 cup vanilla yogurt Use a low-fat option or Greek yogurt for extra creaminess.
- 1 cup hulled strawberries Fresh or frozen strawberries can be used.
- 2 teaspoons lemon juice Divided for berry purees.
- 1 cup blueberries Fresh blueberries are best, but frozen can also work.
Instructions
Preparation
- Set aside 1 cup of vanilla yogurt in a bowl.
- Blend hulled strawberries until smooth. If preferred, pulse for a chunky texture.
- Add 1 teaspoon of lemon juice to the blended strawberries, mix well, and set aside.
- Rinse the blender to avoid flavor mixing.
- Blend blueberries until smooth, or pulse for desired texture.
- Add the remaining 1 teaspoon of lemon juice to the blueberry puree and mix thoroughly.
Layering and Freezing
- Layer popsicle molds starting with blueberry puree, followed by yogurt, then strawberry puree.
- Repeat until molds are filled, leaving a bit of space at the top.
- Insert popsicle sticks into the center of each mold.
- Freeze for at least 5 hours or overnight until solid.
- To remove, run molds under warm water for a few seconds and gently pull popsicles out.