Red White and Blue Cake: A Festive Delight
The Red White and Blue Cake is not just a dessert; it’s a celebration of colors, flavors, and joy. Whether you’re planning a Fourth of July barbecue, a summer birthday party, or any festive gathering, this cake will undoubtedly steal the spotlight. With its vibrant layers and creamy frosting, this cake embodies the spirit of Americana while remaining simple enough for anyone to make. In this article, we will explore this delightful cake in depth—from preparation to serving suggestions, storage tips, and ways to customize it to your preferences.
Why Make This Recipe
There are many reasons to make the Red White and Blue Cake. Firstly, it’s visually stunning and makes for a perfect centerpiece at parties and celebrations. The combination of red, white, and blue layers not only signifies patriotism but also adds a festive flair that can lift the spirit of any gathering.
Secondly, the cake is very easy to prepare, especially with the use of a box mix, making it accessible even for novice bakers. The whipped frosting is light and fluffy, complementing the cake’s texture perfectly. Plus, it’s adaptable; you can modify flavors, colors, and garnishes based on the season or occasion.
Lastly, it’s a fun cake to make with kids! Involving them in the baking process can create lasting memories and also teach them valuable skills about cooking and baking. Get them involved in mixing, pouring, and of course, decorating!
How to Prepare Red White and Blue Cake
Making this cake is straightforward, but attention to detail will ensure beautiful results. Let’s break it down step by step.
Ingredients:
- 1 box of Betty Crocker® SuperMoist® white cake mix
- Water (following the instructions on the cake mix box)
- Vegetable oil (following the instructions on the cake mix box)
- Egg whites (following the instructions on the cake mix box)
- Red food color
- Blue food color
- 1 container (12 oz) of Betty Crocker® Whipped fluffy white frosting
- Fresh berries like strawberries and blueberries for garnish
Step-by-Step Instructions:
Preheat Your Oven: Begin by preheating your oven to 325°F (163°C). This step is crucial as it ensures your cake bakes evenly.
Tip: Make sure you allow sufficient time for your oven to reach the desired temperature before placing your cake in it. An oven thermometer can serve as a useful tool to confirm accuracy.
Grease the Bundt Cake Pan: Generously grease your bundt cake pan with butter or non-stick spray. This step prevents the cake from sticking, making it easier to remove once it’s baked.
Tip: Sprinkle a bit of flour into the pan after greasing to create an additional barrier between the cake and the pan. This will further prevent sticking.
Prepare the Cake Batter: In a large mixing bowl, combine the white cake mix with the required amount of water, vegetable oil, and egg whites according to the package instructions. Mix until you achieve a smooth batter.
Tip: Avoid overmixing, which can lead to a tougher cake. Mix just until the ingredients are combined.
Divide the Batter: Separate the prepared batter into three bowls—one for each color. Use your favorite measuring cup for an equal divide; precision matters here!
Color the Batter: Add red food color to one bowl, blue food color to another, and leave the third bowl plain (white). Stir each bowl until the colors are fully incorporated.
Tip: For vibrant colors, start with a small amount of food coloring and gradually add more until you achieve your desired shade.
Layer the Batter: Pour the red batter into the bottom of your greased bundt pan, followed by the white batter, and then the blue batter. Use a spatula to gently smooth the top after each layer.
Tip: To create a more marbled effect, you can slightly swirl a skewer through the layers without completely mixing them.
Bake: Place the bundt pan in the preheated oven and bake according to the package instructions, typically 25-30 minutes. Check for doneness with a toothpick—if it comes out clean, your cake is ready.
Cool: Allow the cake to cool in the pan for about 5 minutes. Then, carefully invert it onto a cooling rack to cool completely for another 30 minutes.
Tip: Be patient and let the cake cool completely before frosting to prevent the frosting from melting.
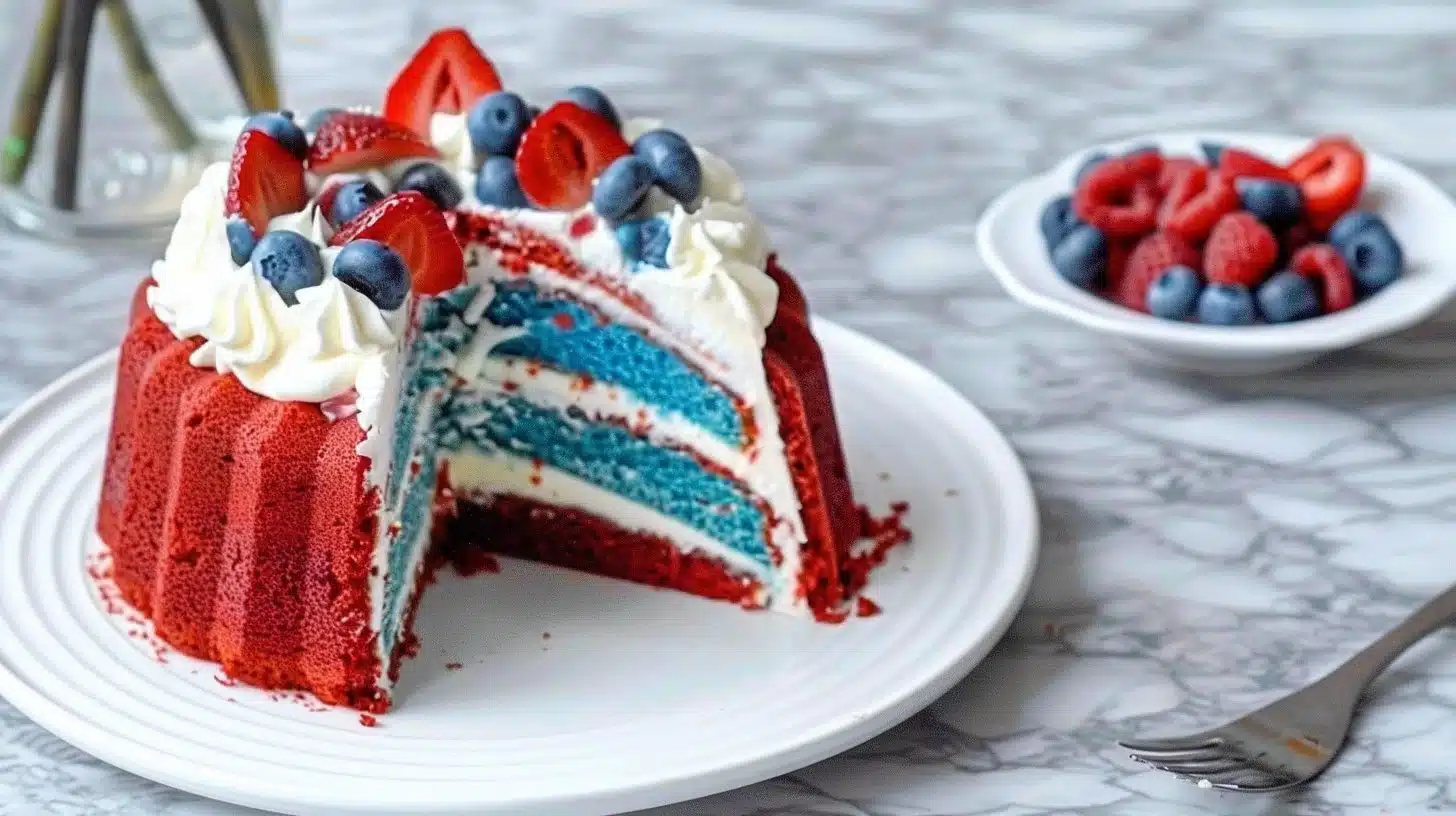
Frost and Garnish: Once the cake has cooled, spread the whipped frosting generously over the top. Finish off with a sprinkling of fresh berries for a festive touch.
Tip: If your cake is particularly domed or uneven, you can slice off the top to create a flat surface before frosting.

How to Serve Red White and Blue Cake
This cake is versatile in how it can be served. Here are a few ideas:
- Birthday Parties: It can be the main dessert at birthday celebrations, making it extra special with colorful candles.
- National Holidays: Perfect for Independence Day, Memorial Day, or any patriotic holiday.
- Summer Picnics: Serve it at backyard barbecues or picnics; it pairs well with lemonade or iced tea.
- Garnishing Options: Add mint leaves for a pop of green or drizzle some chocolate sauce for extra sweetness.
How to Store Red White and Blue Cake
Storing your cake properly will help maintain its freshness and flavor:
Room Temperature: If you plan to serve the cake within two days, you can leave it covered at room temperature. Make sure it’s in an airtight container or covered with plastic wrap.
Refrigeration: For longer storage, keep the cake in the refrigerator, especially with the whipped frosting, which is cream-based. It can last for about 4-5 days in the fridge.
Freezing: You can also freeze the cake for up to three months. Wrap it tightly in plastic wrap and then place it in an airtight freezer bag. When ready to eat, allow it to thaw in the refrigerator overnight.
Tips for Mastering Red White and Blue Cake
Baking a cake can be tricky, so here are a few key tips to help you achieve the best results:
Measure Accurately: Ensure that you measure your ingredients accurately for the best texture and flavor.
Room Temperature Ingredients: When possible, use room temperature eggs and other ingredients, as this helps create a better batter consistency.
Don’t Rush the Cooling: Allow the cake sufficient time to cool completely before frosting; a warm cake can cause the frosting to melt and slide off.
Avoid Overbaking: Keep an eye on your cake as it bakes; every oven is different. Test for doneness a few minutes before the suggested baking time.
Practice Patience: Waiting to slice the cake until guests arrive will keep it looking its best.
Variations
While the classic Red White and Blue Cake is delightful, here are some variations to consider:
Flavor Variants: Mix in vanilla, almond, or lemon extract to flavor your cake layers.
Different Frostings: Swap the whipped frosting for cream cheese frosting or a chocolate ganache for a richer flavor.
Healthier Twists: Use a sugar-free cake mix or whole grain flour for a healthier option.
Fruity Additions: Incorporate crushed pineapple, raspberries, or blueberries directly into the cake batter for added flavor and texture.
Dietary Adjustments: Use egg replacers for a vegan option or gluten-free mixes for those avoiding gluten.
FAQ
1. Can I make the cake ahead of time?
Yes, you can prepare the layers a day in advance. Simply store them in an airtight container at room temperature. Frost and garnish them just before serving.
2. What if I don’t have a bundt pan?
You can use two round cake pans instead. Simply adjust the baking time as needed and layer the cakes for a different presentation.
3. How can I make the colors more vibrant?
Use gel food colors instead of liquid dyes. Gel colors give a brighter hue without altering the batter’s consistency.
4. Can I use fresh fruit in the batter?
Yes, but be cautious as too much moisture from fresh fruit can alter the cake’s texture. Aim for about a cup of finely chopped fruit.
5. How do I prevent the cake from sticking to the pan?
Make sure to thoroughly grease and flour the pan. Inverting the cake while it’s still warm also helps release it easily.
By following this guide, you’ll not only create a stunning Red White and Blue Cake but also enhance your baking skills along the way. Enjoy the process, and most importantly, enjoy sharing this delightful cake with friends and family!